Welcome to 3DCoat Python API’s documentation!#
Indices and tables#
Description
The 3DCoat Python API is intended to trigger UI commands, operate over the scene, and create new tools. It is very similar to the C++ Core API, but has its own advantages and drawbacks.
- No need for any additional setup to make your scripts; Python is embedded into the 3DCoat distributive.
- Python is like a Swiss-knife, allowing you to bring the whole power of Python libraries into 3DCoat.
- Python is much slower than C++, so it may be used only for general management, not for deep and complex algorithms.
- If you are already familiar with the C++ Core API, the Python API is very similar, almost 1:1, with the same logic and function names.
Usage
- Use Scripts->Create Python Script to create a new script. You may choose an initial template to start (it will be created in the 3DCoat\UserPrefs\PythonAPI\UserProjects folder). The .py file will open in your current editor associated with .py files.
- We use embedded Python 3.11.9 to operate. This version of Python does not support Windows 7..
- If needed, you may create a file called requirements.txt with a list of used modules; in this case, the modules will be auto-installed before the script runs.
- We recommend Visual Studio Code, as it will automatically recognize 3DCoat-specialized commands syntax and offer the correct hints.
- Use Scripts->Show Python Console to see the console output from Python. If the PythonTerminal plugin is disabled, do not close the console window, this will close all of 3DCoat! See the Debugging section to understand the debugging with the VisualStudio Code.
- You may install additional packages for Python using Scripts->Install python packages. Another way is to use requirements.txt in the same folder as the .py file's location.
Debugging
You can debug the Python script using Visual Studio Code. Create the project using Scripts -> Create Python Script. The project consists of your_project_name.py (your script), .env paths to the 3DCoat API libraries, and launch.json in the .vscode folder (run/debug settings). PORT will be automatically configured every time you start 3DCoat if the project is in 3DCoat/UserPrefs/Scripts/cExtensions or UserPrefs/Rooms/CustomRooms or UserPrefs/PythonAPI/UserProjects or UserPrefs/Addons so if you run multiple 3DCoat executions at the same time, the debugger will only work with the last 3DCoat run. In this case, you can always automatically configure the debugger in the projects for any 3DCoat process using the menu item Scripts -> Attach to Python Debugger, also this function can be used if you copy or create a new python project manually after starting 3DCoat it will configure the project
The project will open in Visual Studio Code if it is installed. You may also open the project folder manually from VS Code.
In VS Code, select the .py file, then press F5 to start debugging.
VS Code will try to connect to the 3DCoat process. if attached successfully, you will see the debugging controls at the top:  .
.
Now set breakpoints in VS Code, then run your script from 3DCoat's scripts menu. The script will stop at the breakpoint. Now you may watch variables, debug step by step, etc.
Main classes
General I/O: coat.io
Dialog management: coat.dialog
Mesh operations: coat.Mesh
Retopo/Modeling operations: coat.Model
UV operations: coat.uv
Scene roots: coat.Scene
Scene element: coat.SceneElement
Volume management: coat.Volume
UI management: coat.ui
2D-vectors math: coat.vec2
3D-vectors math: coat.vec3
4D-vectors math: coat.vec4
3D-matrix math: coat.mat3
4D-matrix math: coat.mat4
Bounds management: coat.box
Rectangles management: coat.rect
Symmetry management: coat.symm
Resources management: coat.resource
Settings: coat.settings
Copy vs Reference
Any object like vec2, vec3, vec4, mat..., any other may be copied as reference or as value. If you write something like this:
You will see 5.0 5.0, because v1 and v2 are the same object. If you want to copy the object as value, you should write something like this:
You will see 1.0 5.0, because v2 is a copy of v1.
This is true for almost all 3DCoat's objects (where is has logical sense), not only for vectors.
Addons
The add-on mechanism is a way to extend the 3DCoat functionality and share it with another user. Since the 3DCoat 2024, there has been an Addons menu in the main menu. Get there, see the Examples section, and look at the Readme. You may add your own scripts to that menu. Click the "..." button in any submenu and see the available options. You may add your submenu, script, readme, license, funding information, and links. Also, you may create redistributable packages right in that menu. If a user installs the package, the corresponding scripts will appear in the Addons menu. Hotkey may be assigned to any script. The Addons menu follows the folder structure in the UserPrefs/Addons/ folder. Exception is folders and files that start from "." or "_". They are ignored. Both - CoreAPI and Python scripts may be placed in the Addons menu. Each script and its additional files should be placed in a separate folder. That folder will not be shown in the Addons menu, only the scripts itself will be referred.
Using muliple files in the project
It is important not to place the additional data files right in the folder with the main .py file. We recommend placing them in a subfolder like "_data". You can place additional .py files in the same folder as the main .py file or in a subfolder. If you prefer these to not appear in the Addons, place them in a folder that starts with "_" or prefix the submodule filenames with "_", such as "_my_submodule.py". Submodules can be imported as follows:
Note that when you run the main .py files, the submodules are not reloaded if they have already been loaded. To reload a submodule, you should use the reload function from the importlib module:
In the case of a submodule located in a subfolder, you should use the following snippet:
Extensions
 3DCoat has a mechanism for creating and installing extensions that can run with the application and control all its events. To open the extension manager window, use the main menu Windows->Panels->Extensions To launch the extension, click the "Start" button. If you want to automatically launch the extension with 3DCoat, make sure the box is checked. All native 3DCoat modules are located in the 3D Coat installation folder UserPrefs\Scripts\Modules and can be used from other scripts using the include method in the Modules section.
All user extensions and installed extensions are located in the user's documents folder UserPrefs\Scripts\Extension and can be used from other scripts using the include method in the Extension section.
Please note that some extensions require installation of necessary Python modules on first launch, they will need an internet connection for this, if you do not have an internet connection on first launch, the extension module will not start. You may see a red message in the status bar when the module is in the process of installation.
Console Usage
You can use the console to view the output of the print() function. The console can be opened via Scripts -> Show Python Console. However, you can also open it directly from a script using the coat.io.showPythonConsole() function. In this case, the console pops up and will be cleared automatically. This is useful for debugging purposes.
Examples
Looking the examples is the best way to understand the API. Use Scripts->Create new Python script to experiment with that examples.
Basic
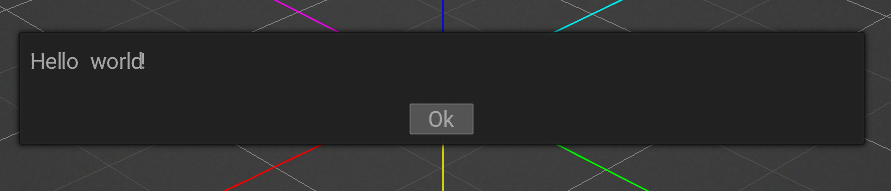
The Hello World!
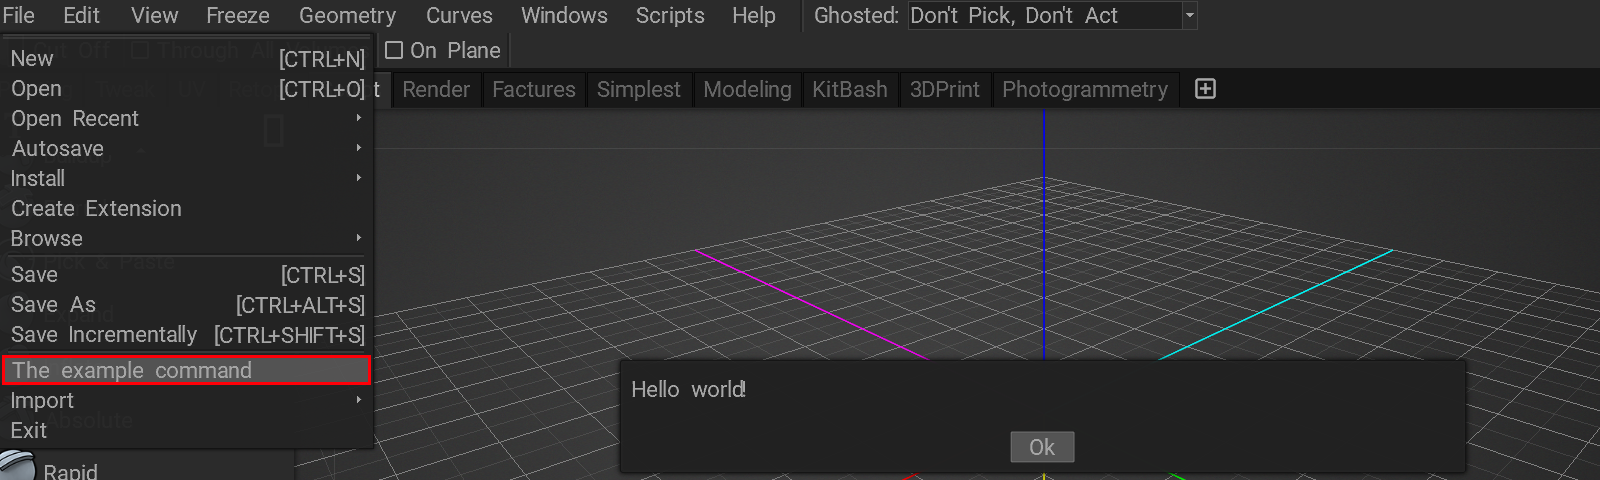
Insert item into the menu!
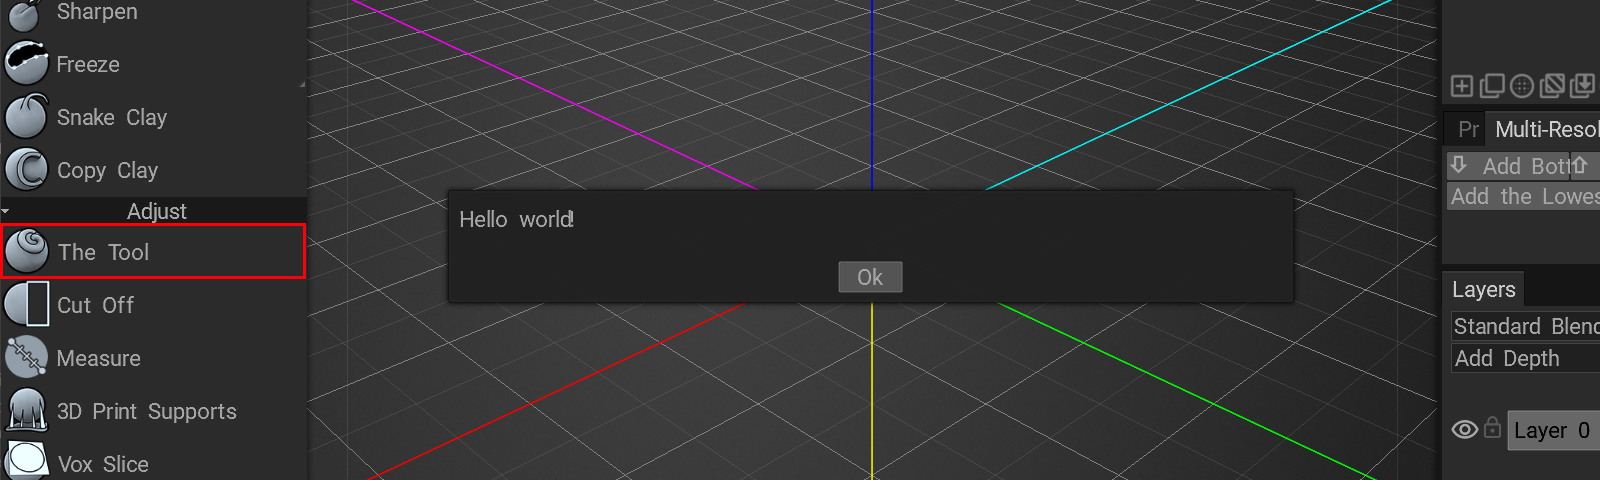
Insert item into the toolset!
The UI management example.
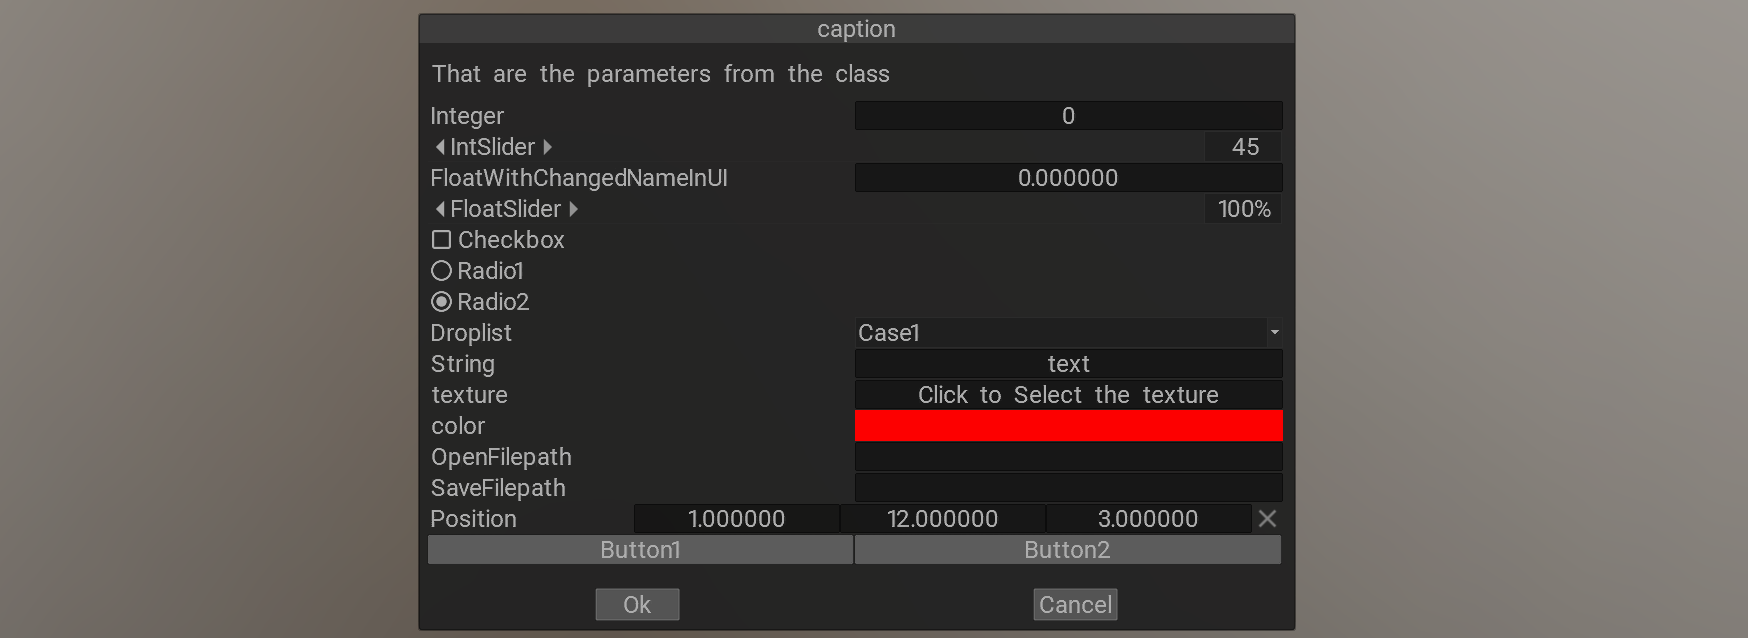
The dialog creation example.
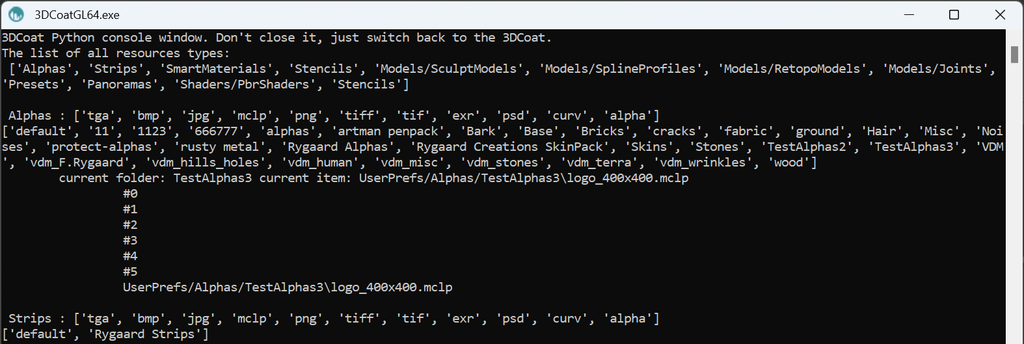
Resources management (Alphas, Stencils, ....)
Scene
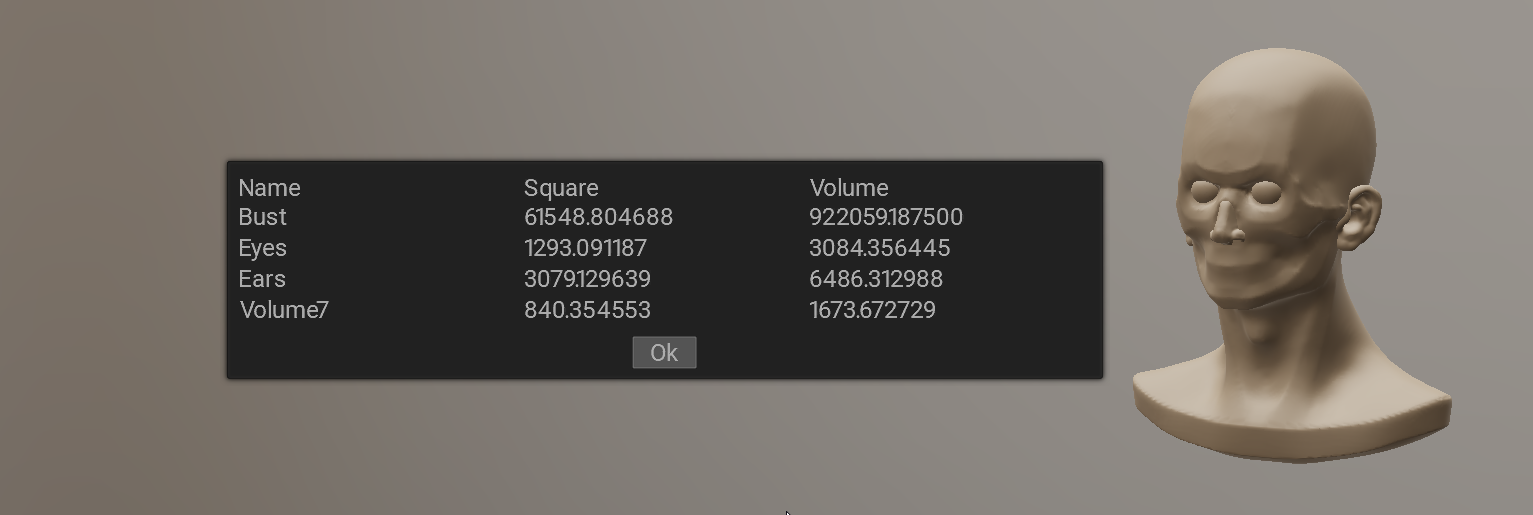
Iterate over the sculpt tree, show the basic stats - square, volume
Meshes
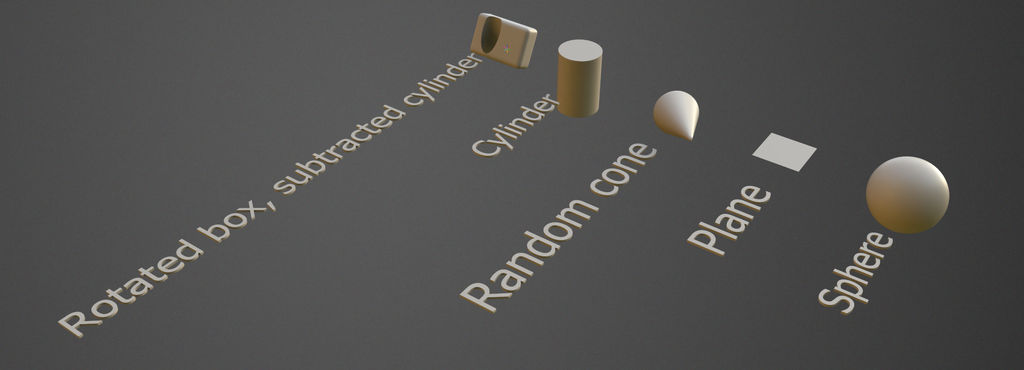
Meshes and primitives
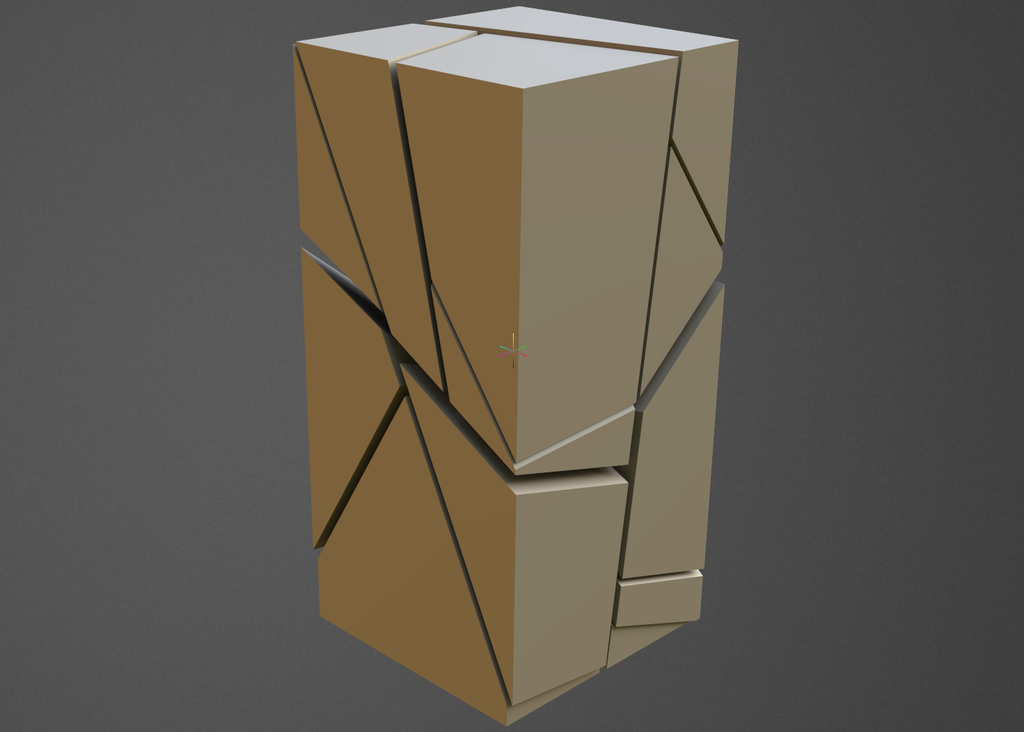
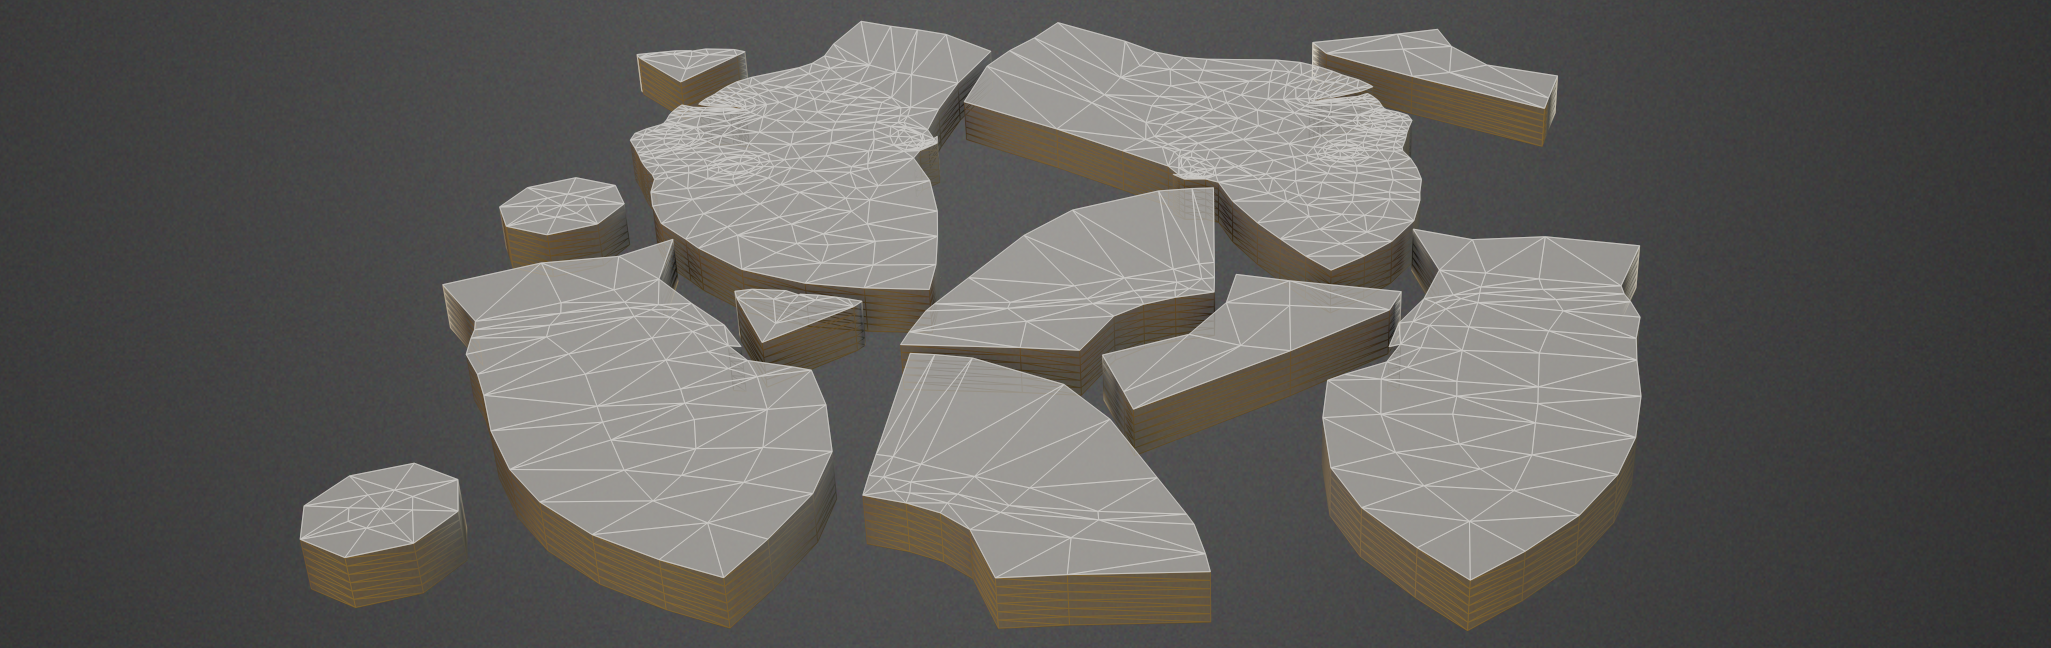
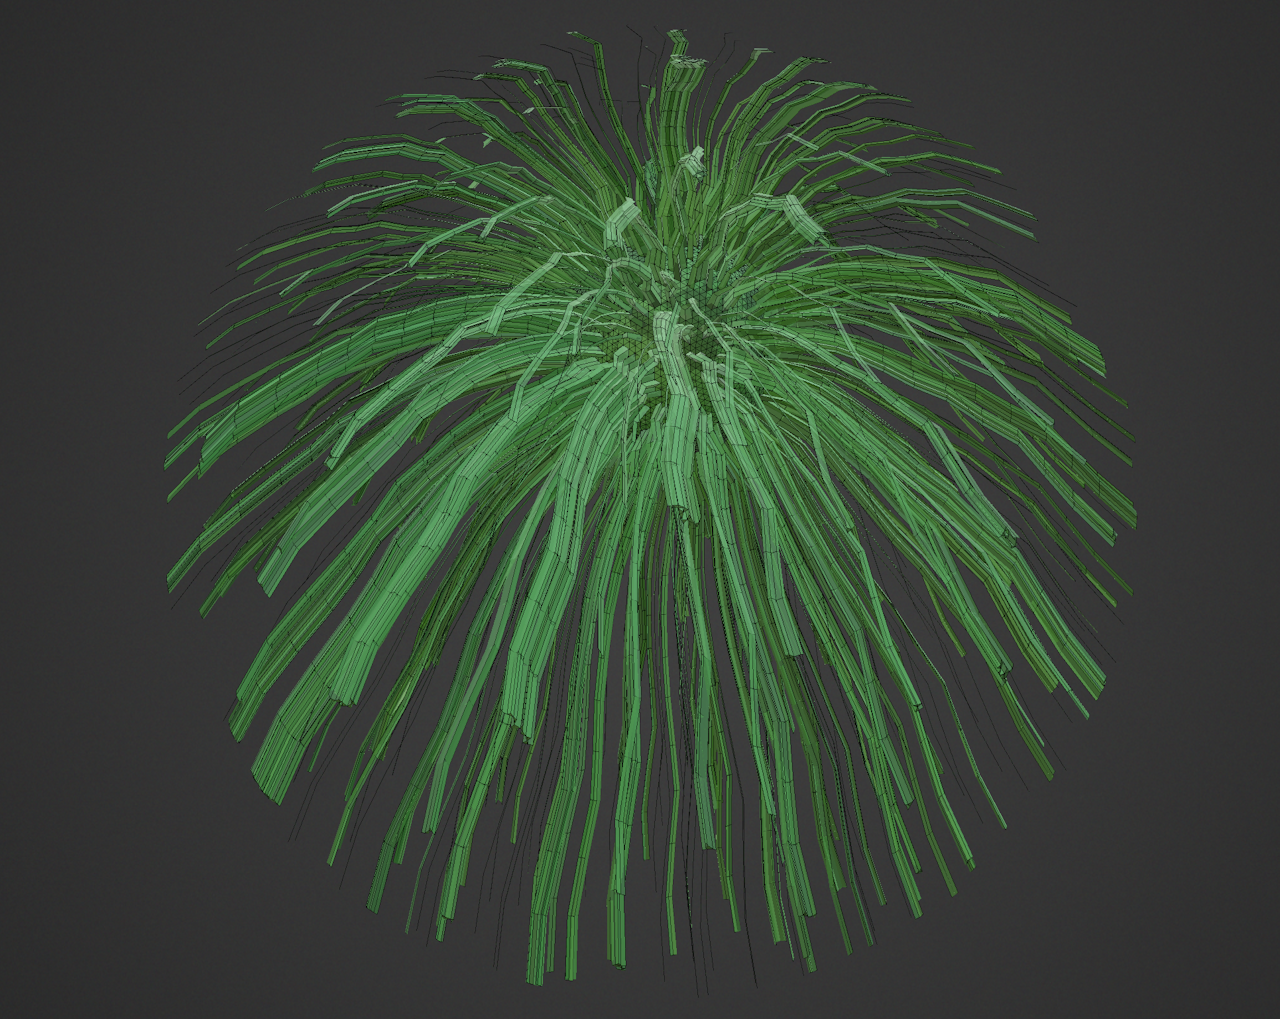
Break the object into pieces
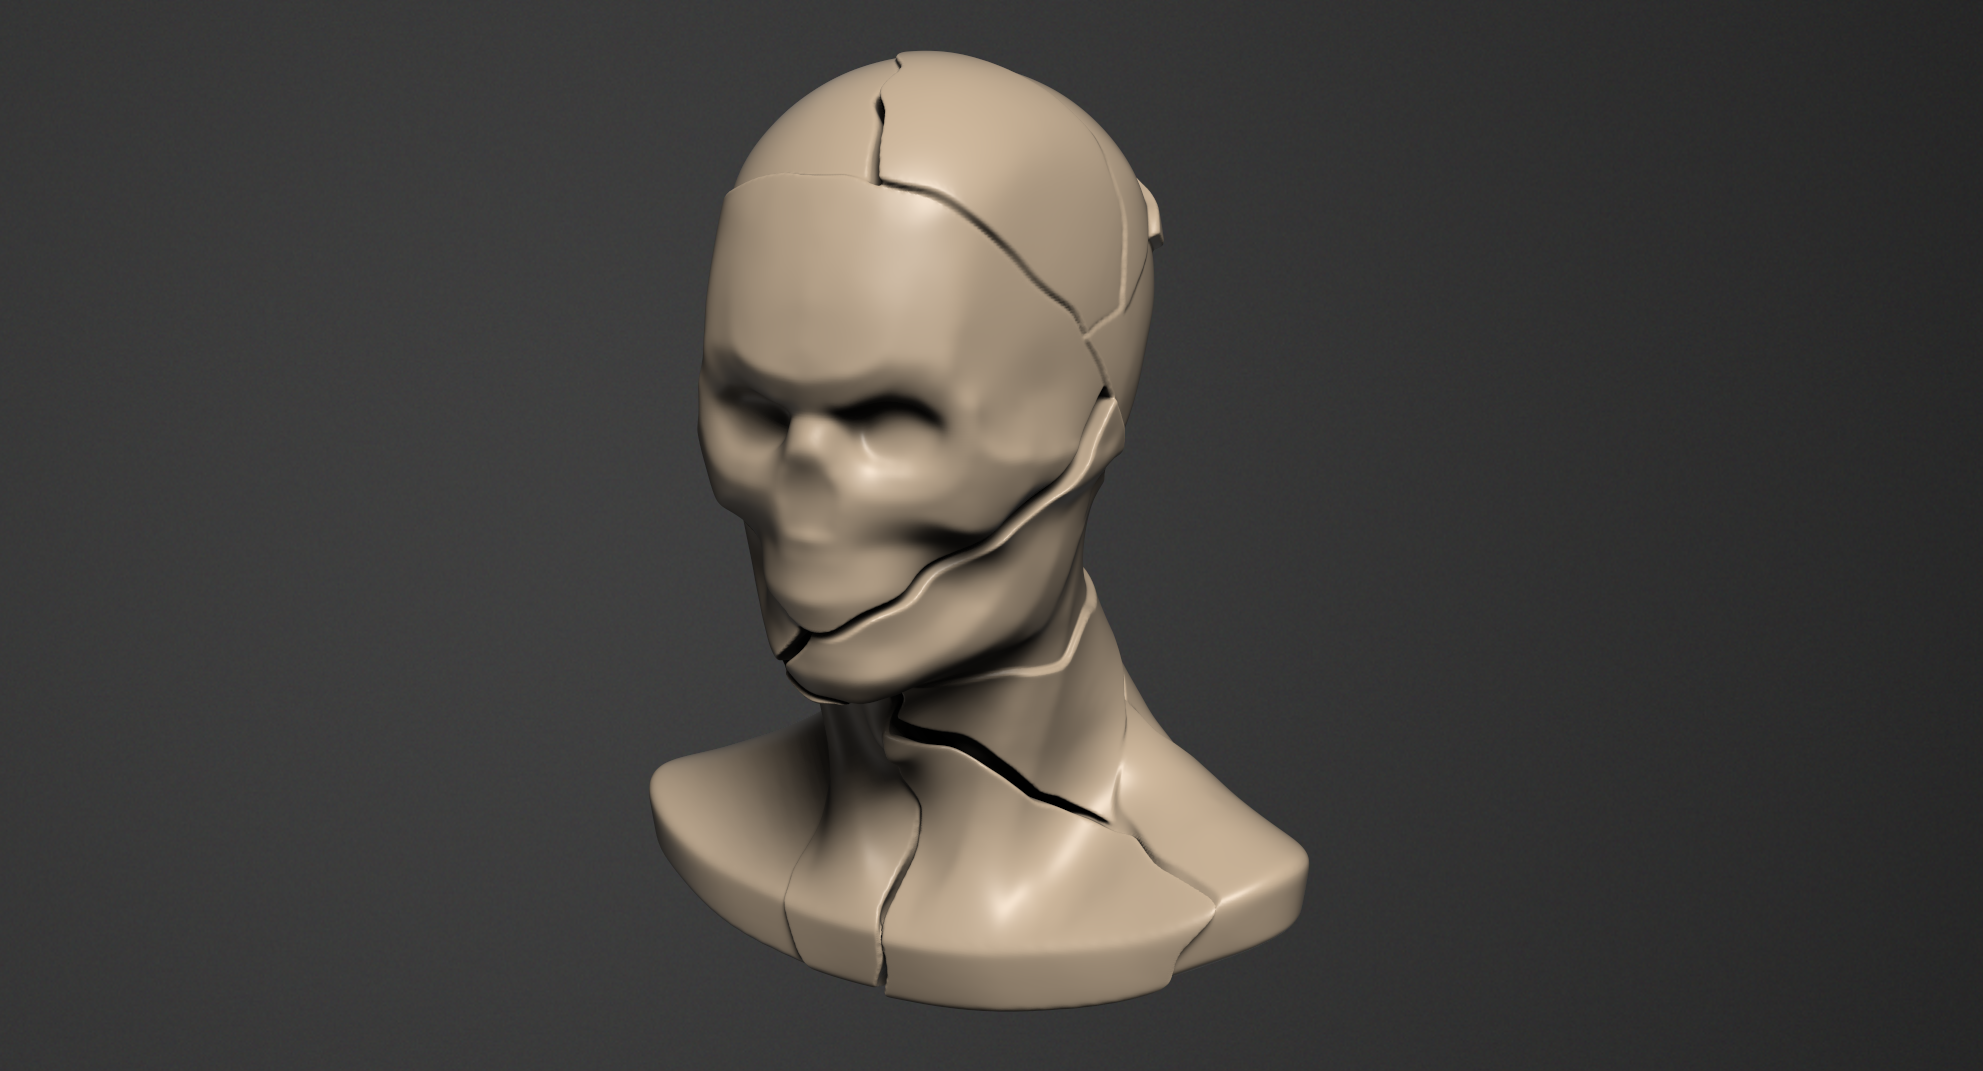
Break the current volume with realistic cracks
Generators
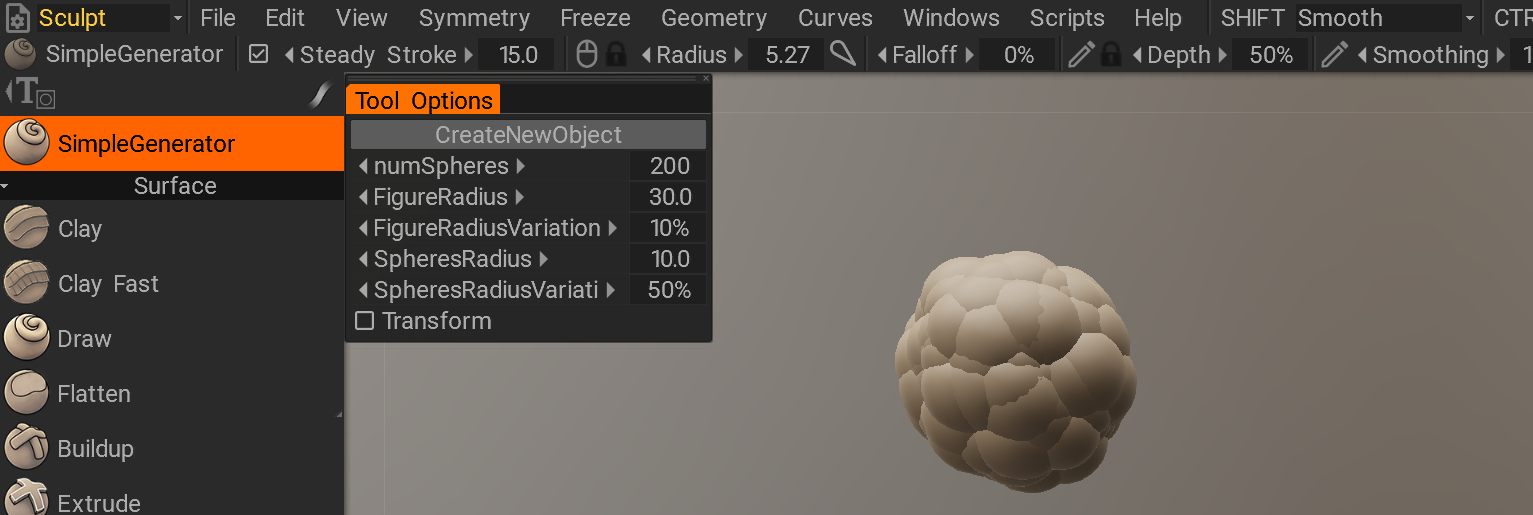
Non-destructive geometry generator example
Primitives

Generate the surface figure "windrose" that consists of cones
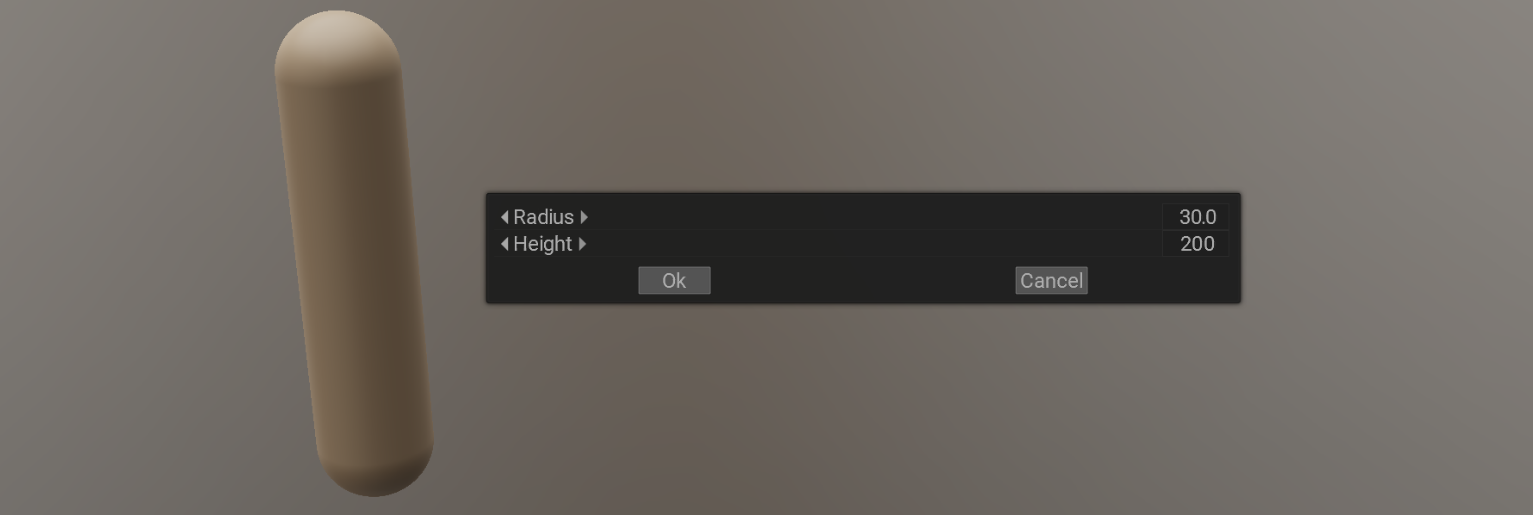
This example generates the surface figure that consists of capsule

Generate the text primitive
UV
Get UV-s from the UV room and convert them to the sculpt room objects

Randomly rotate the UV islands and pack them
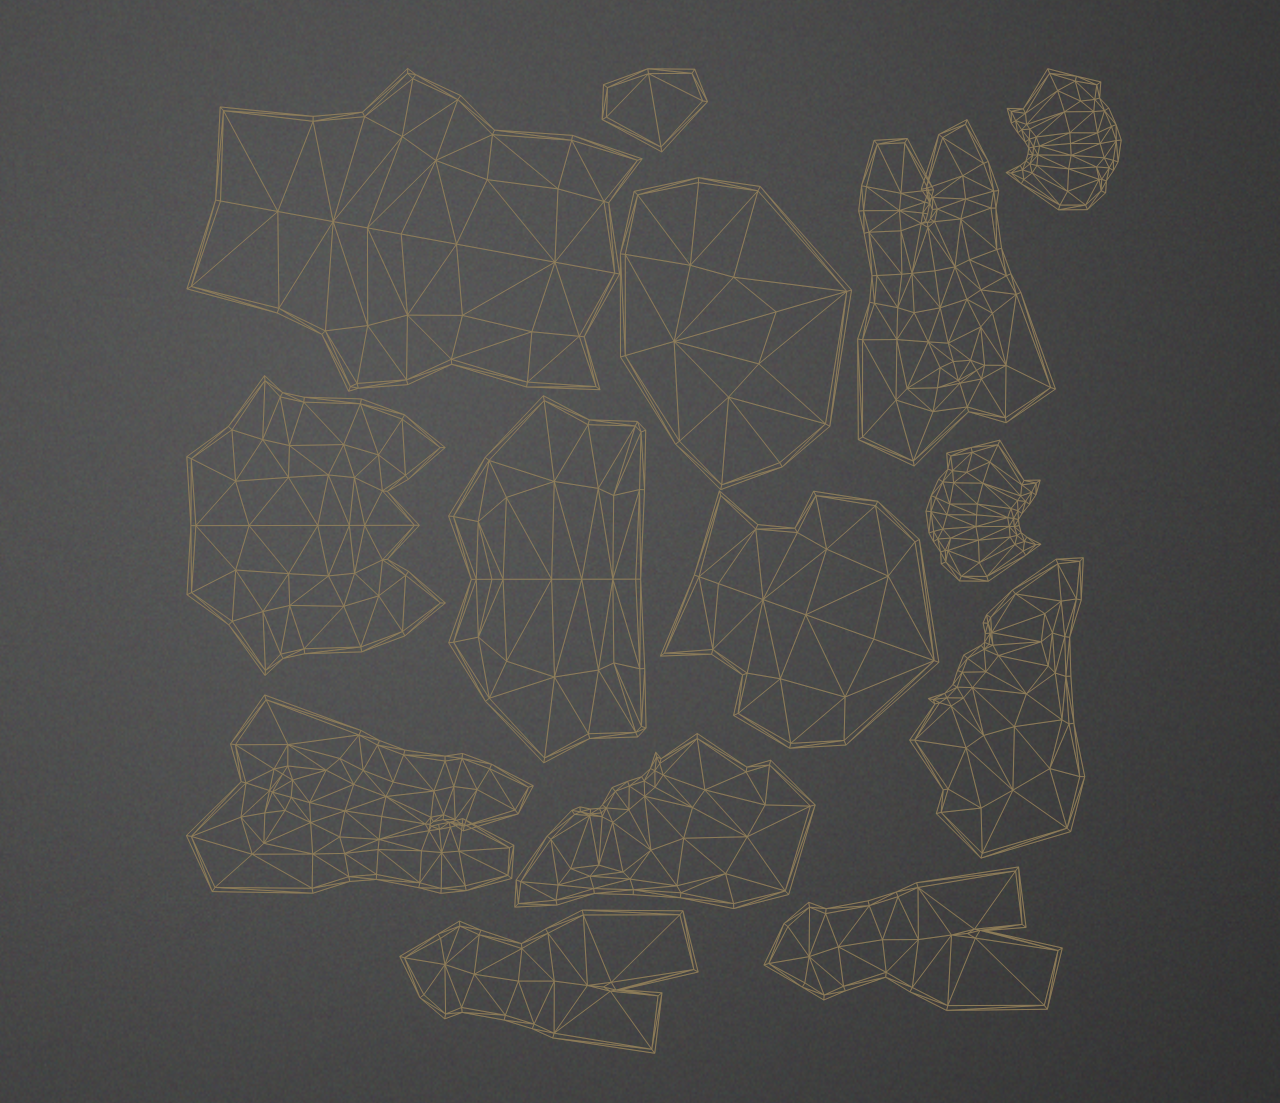
Convert uv islands to the cloth pieces with extra borders to be sewed together
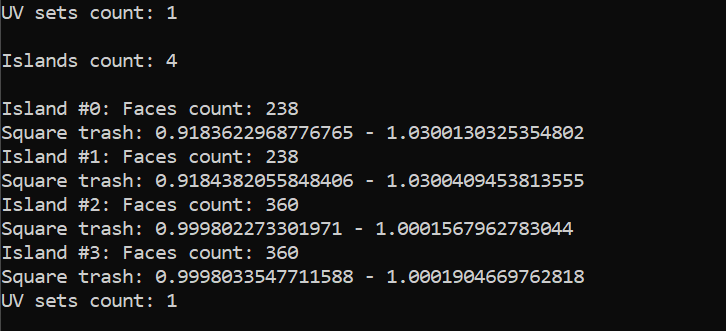
Calculate the square thash for the UV islands
Modeling
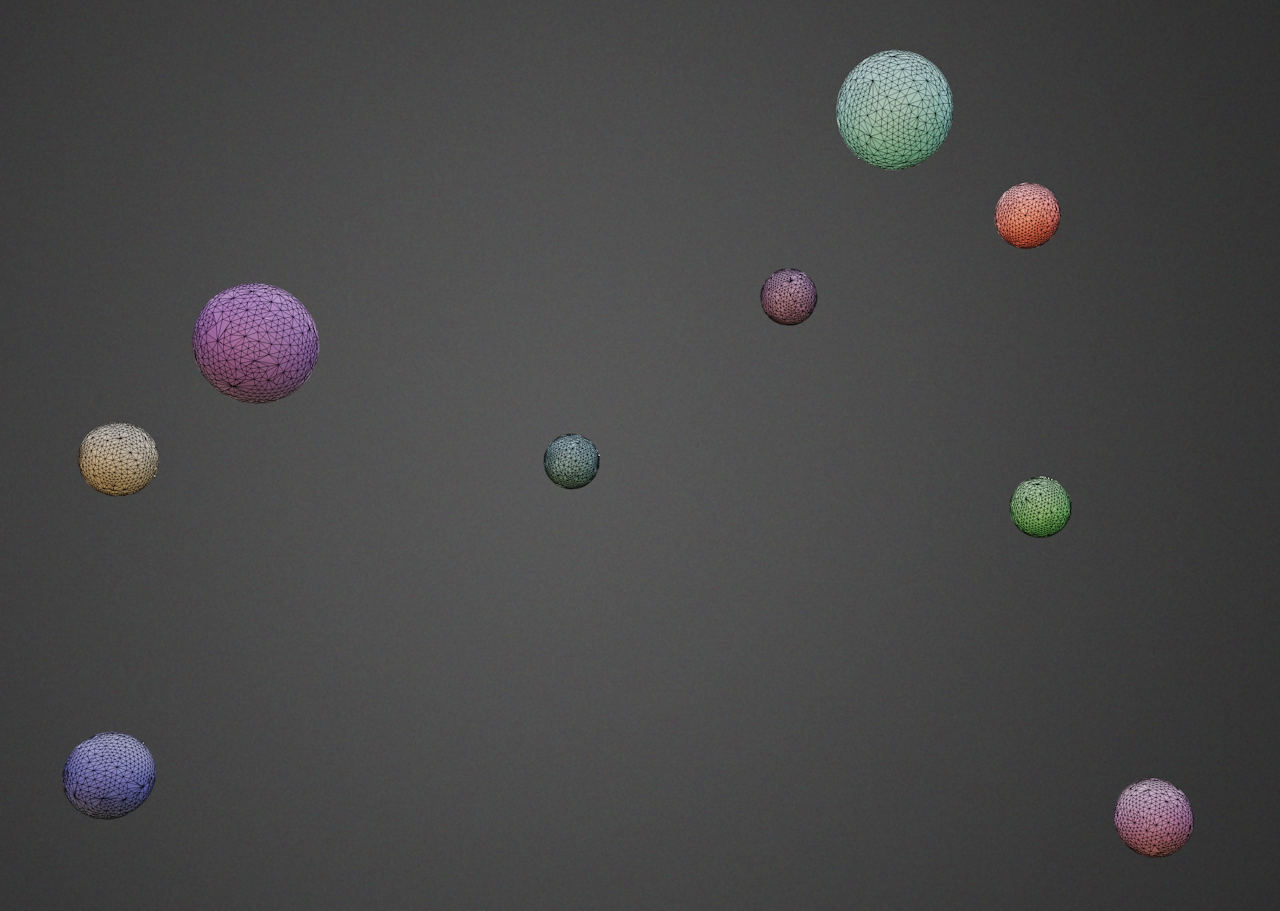
create random spheres in retopo room, then remove one of groups, collapse edges randomly
This is example just to discover operations over meshes in the retop room. There we create random spheres in retopo rool, delete one of groups, select random faces, extrude them and move along normals.
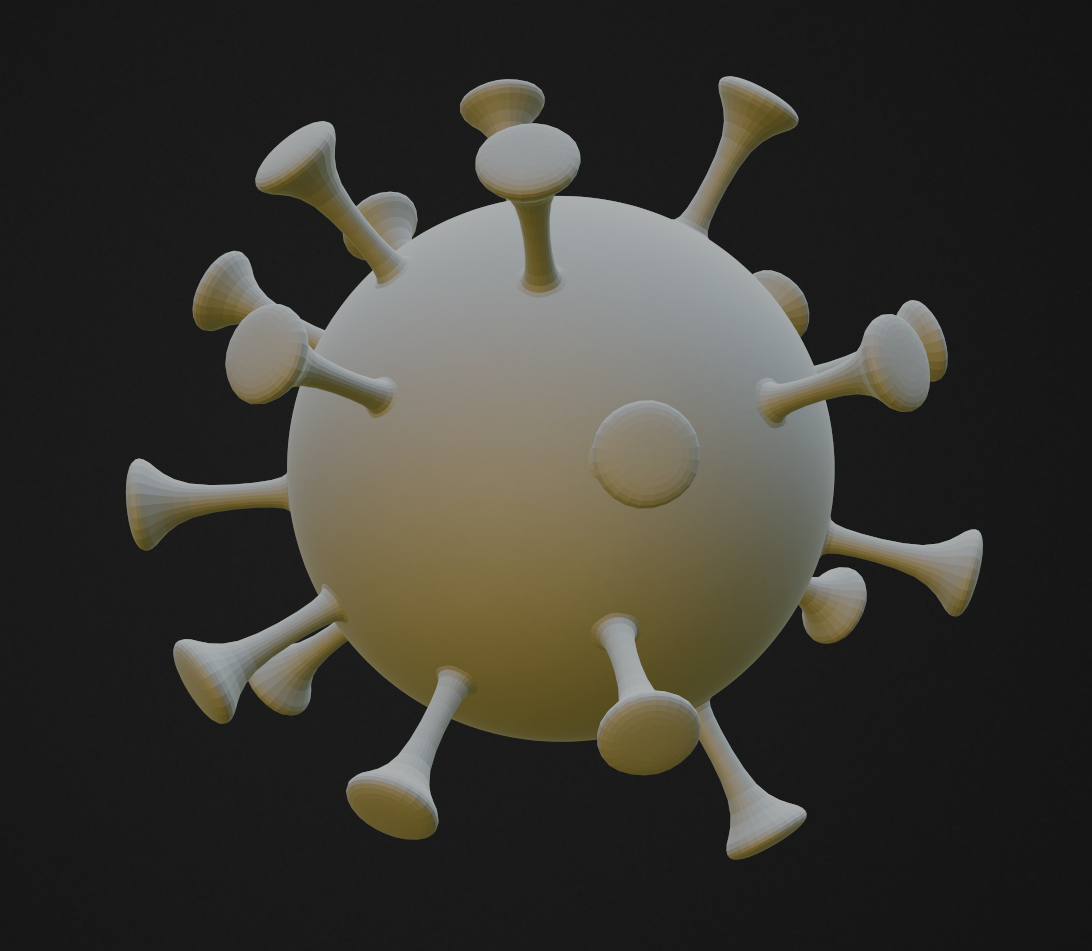
Low-poly virus modeling
Export
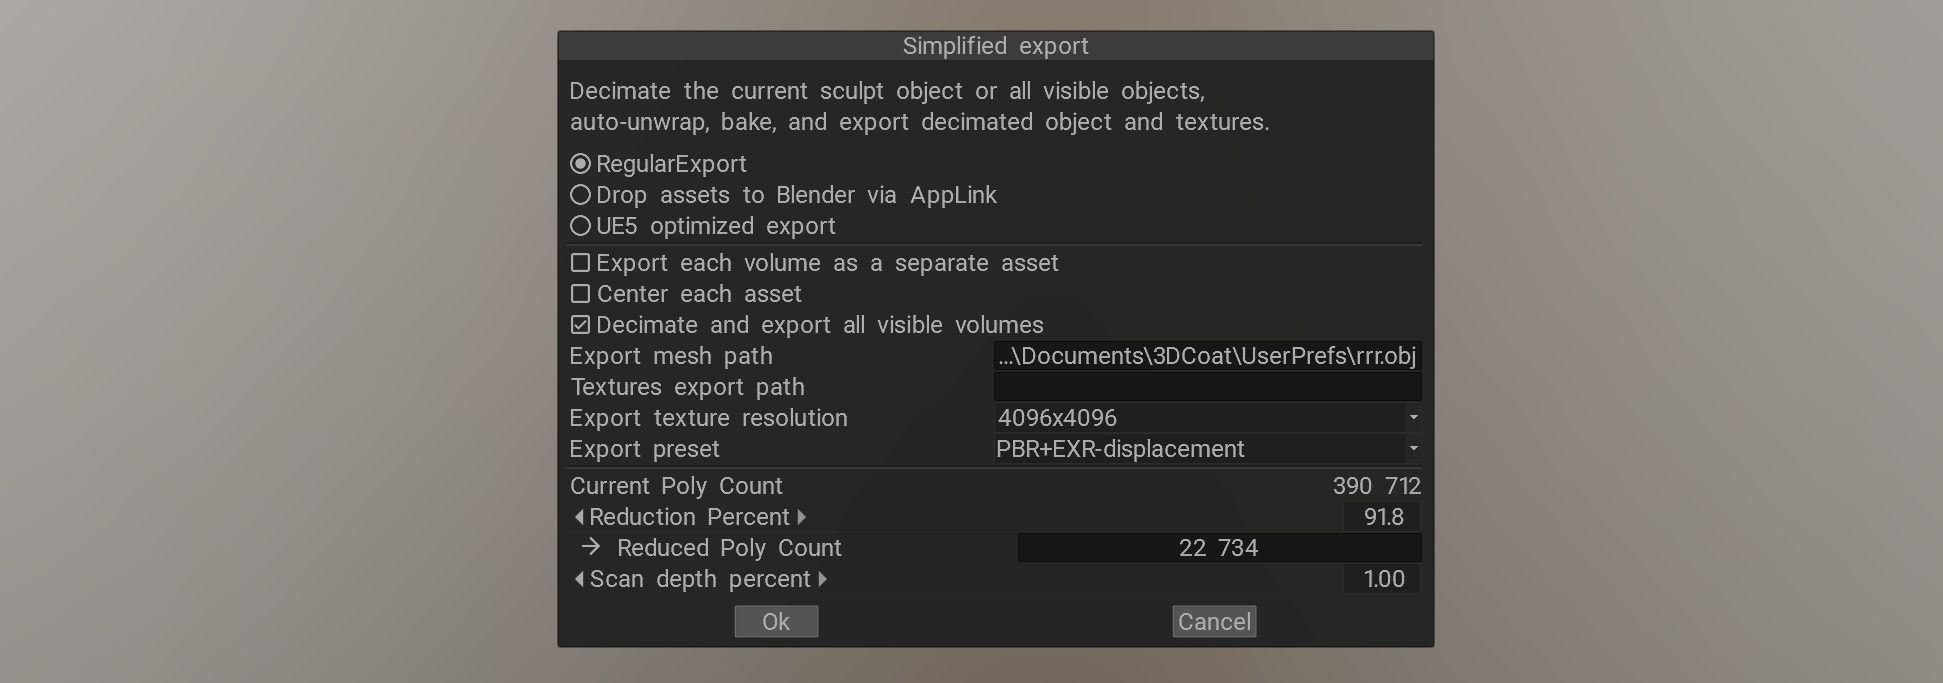
The script used for the File->Export->Decimate > Auto UV-Map > Export
Render
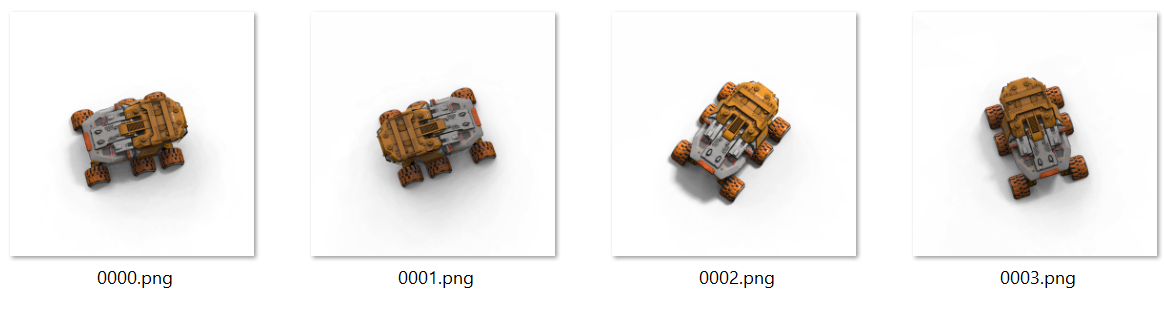
Render object from the random top view with random light position. The object rendered as if it drops the shadow on the invisible plane. The shadow represented as the alpha channel of the final image.